- Home Style Daily
- Weekend Projects
- Wall molding ideas that make a plain wall look built in
Wall molding ideas that make a plain wall look built in
Find practical wall molding ideas to make any room look custom in one weekend. Learn how to measure, cut and paint picture frame or board and batten styles.
Ideas from Vaughn Trimble
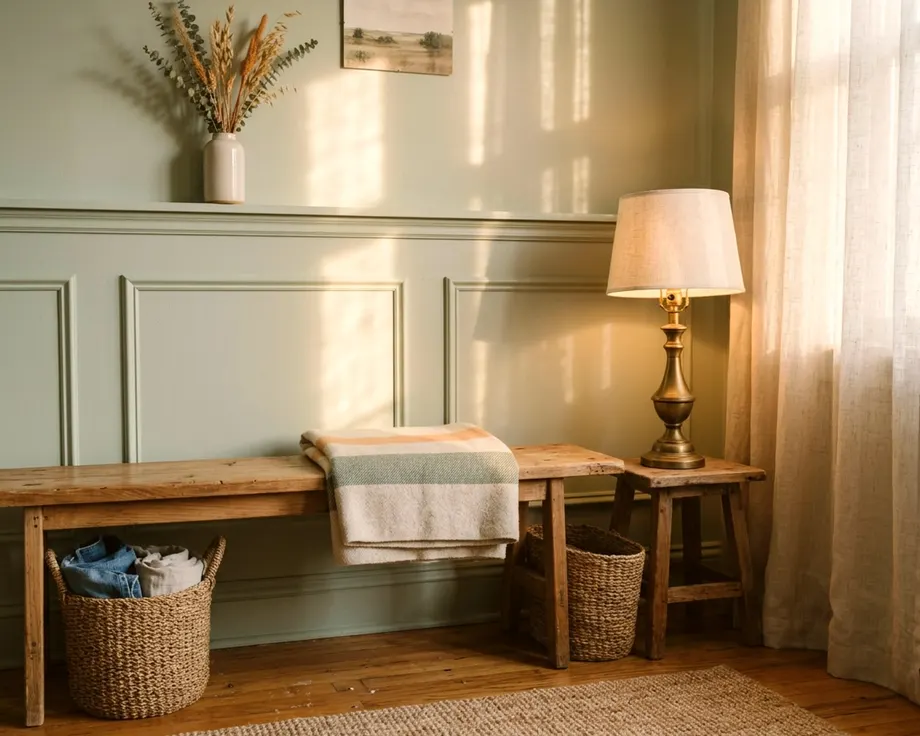
Adding picture frame or board and batten trim turns a flat wall into a custom feature on a tight budget. A few cuts and a fresh coat of paint make a plain room feel built in. You can finish the whole job by Sunday night.
Pick a style that suits the room
Choose a molding style that matches the lines already in your house. Picture frame molding adds thin, raised boxes to the drywall, and this style fits formal spaces like a dining room or a main bedroom. Board and batten uses flat vertical boards topped with a horizontal rail. This sturdy look protects walls in a hallway, a bathroom or a mudroom.
Both styles count as an easy weekend DIY project. Flat pine boards work best for board and batten. Primed pine or polyurethane trim works for picture frames. Polyurethane cuts easily, but wood offers a traditional feel and resists dents better.
Think about your wall texture. Flat drywall takes trim beautifully, but heavy texture requires a backer board for board and batten styles. You attach a thin sheet of hardboard to the wall first to cover the bumps. Then you nail your trim to the hardboard.
Picture frame molding works fine on light texture. The paint unifies the plaster and the wood.
Measure and mark the layout before you cut
Planning the spacing takes more time than nailing the boards. Draw your wall on a piece of paper first. Measure the width and height of the wall. Subtract the baseboards and crown molding from your total height.
Decide how many boxes or panels you want across the wall. Odd numbers look best, and three or five sections balance a standard room well. Keep all the boxes the same width if possible. A large center box flanked by two narrow boxes also looks deliberate.
Leave a standard gap between every piece of trim. A gap roughly the width of a hand looks right for most picture frame molding. To find your exact box width, grab a calculator and follow these steps.
- Count your total gaps, keeping in mind that three boxes require four gaps.
- Multiply your gap width by your total gaps to find your total empty space.
- Subtract your empty space from your total wall width to find your box space.
- Divide your box space by your number of boxes to get your exact box width.
Mark the wall with a pencil. Use a level and a straight edge to draw the boxes directly on the paint. You can also stick painter's tape along your lines to test the size. Stand back and check the balance.
Move the tape lines until the spacing feels right. Avoid placing vertical boards directly over an outlet. Adjust your gaps slightly to miss the electrical boxes.
Plan your heights carefully. Picture frame boxes should sit a few inches above the baseboard. Board and batten often covers the lower part of a wall, which can look balanced in a standard room.
Cut and fit the pieces with clean corners
Board and batten trim requires simple straight cuts. You cut the horizontal boards to the length of the wall, and then you chop the vertical battens to your chosen height. Picture frame molding needs precise angled cuts. You cut the ends of each trim piece at an angle so they meet perfectly in a square corner.
Set up a hand miter box or a power miter saw. Cut your top and bottom pieces to the exact same length, and cut the two side pieces to match each other. Measure from the long points of your angled cuts. The inside edge of the trim will be shorter than the outside edge.
Test fit the four pieces on the floor. A small gap at the corner is normal, and you can fix minor gaps later with wood filler. Sand the cut ends lightly with fine-grit sandpaper. This removes rough splinters.
Keep a piece of scrap wood handy. Cut a scrap block to match your exact gap width. A spacer block saves you from measuring every single time. You hold the block against the baseboard and rest your trim on top.
Fasten, fill and caulk the seams
Attach the molding to the wall with a brad nailer and construction adhesive. Squeeze a thin bead of adhesive on the back of the trim and press the wood onto your pencil lines. Shoot nails along the length of the board. The glue helps hold the trim to the drywall, while the nails hold the wood tight as the glue dries.
Start with the horizontal boards if you are building board and batten. Add the vertical pieces next. Check each vertical board with a level before you fire the nail gun.
For picture frames, nail the top piece first. Use a level to make sure it sits perfectly straight. Line up the sides and bottom to complete the box, ensuring the joints fit snug.
Now you hide the evidence. Sink any proud nail heads with a nail punch, and push wood filler into the nail holes with your finger. Smear a little filler into the corner joints to close any gaps. Let the filler dry completely before you sand the spots smooth with a sanding sponge.
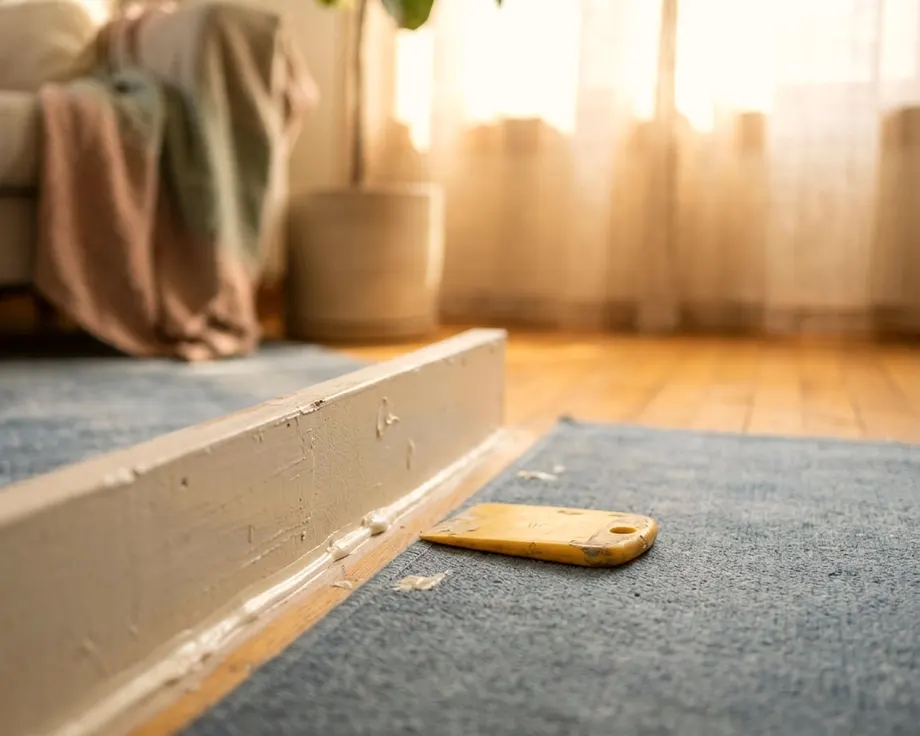
Run a line of paintable acrylic latex caulk along every edge where the wood meets the wall. Cut the tip of the caulk tube small to apply a thin line. Buy a dripless caulk gun for this job. Cheap guns keep pushing caulk out after you release the trigger, but a good gun stops immediately.
Keep a cup of warm water and a stack of paper towels nearby. Dip your finger in the water before you smooth the caulk line. Wipe the excess caulk on a paper towel, and change your paper towels frequently to keep the wall clean.
Good caulking makes the trim look like an original part of the wall. These details count as small home upgrades you will notice every single day.
Check older homes for lead paint before you sand
Scraping or sanding old walls requires strict care. Homes built before 1978 are more likely to have lead based paint. Any renovation that disturbs painted surfaces in older homes may create large amounts of lead dust.
Ask a qualified lead professional to test the paint before you sand or scrape old paint or baseboards.
In a home built before 1978, skip the sanding step where you can and clean the wall with a heavy-duty degreaser instead. Use a liquid deglosser to prepare the surface for new paint. Wipe the chemicals away carefully and dispose of the rags safely.
Paint the wall and molding in the same color
Paint ties the whole project together. A monochromatic look gives the trim that permanent, built-in feel. Paint the baseboards, the flat wall and the new molding all the exact same color. This trick creates a rich background for an empty corner or behind a bed.
Use a satin or semi-gloss finish for the trim and wall. A little sheen catches the light. This highlights the shadows and depth of your new boxes. Flat paint absorbs light and hides the details you just built.
Wipe the dusty wall down with a damp rag before you open a paint can. Brush a coat of primer over raw wood or MDF trim. The cut edges soak up a lot of paint. Primer seals the surface so your final color goes on smooth.
Use an angled brush to paint the inside edges of the molding. Cut in along the ceiling and the baseboards, then roll the flat wall spaces with a paint roller. Keep a wet edge and roll as close to the trim as you can to blend out the brush marks. Two coats of paint will cover the caulk and wood completely.
Let the first coat dry for a few hours before you apply the second. Peel off any painter's tape while the second coat is still slightly damp. Pulling the tape at an angle leaves a crisp edge. Step back and look at the wall.